In the Discussion Forum portlet, click Add Category.
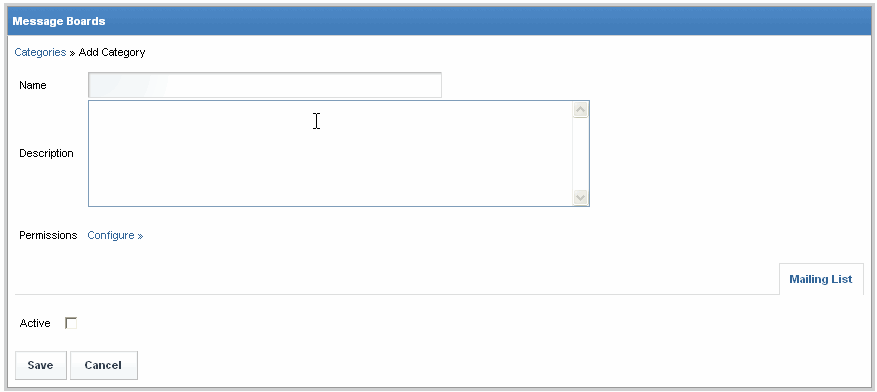
The Add Category screen is displayed.
Support for Discussion Forums
In the Discussion Forum portlet, click Add Category.
The Add Category screen is displayed.

In the Name open text field, key in the name of the category as you wish it to display on the portal.
In the Description open text field, key in the description of the category as you wish it to display on the portal.
Click Configure
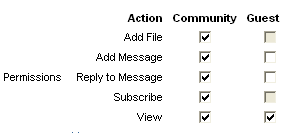
next to the Permissions option. A list of actions, as well as
user types are displayed. If you wish to configure advanced
permissions, complete the steps in the section "Modifying
Permissions on a Category".

In this example, there are two user types configured to view the Discussion Forum. Those are "guests" (non-logged in users) and "community" (logged in users). Your System Administrator may have turned off some options, as is the case for "Add File" for Guest Users in this example. If you wish to configure advanced permissions, complete the steps in the section "Modifying Permissions on a Category". |
Enable the checkbox of each task you wish each user type to be able to perform.
Disable the checkbox of each task you wish to remove from each user type.
Click Save. The screen refreshes, and the category is added to the Discussion Forum.
RESULTS:
You have successfully created a category.